
When you visit a craft show, what is your criteria for what is an acceptable price? Do you look at what is a small item and think ‘that’s a pretty dish but not at £…., it isn’t’. Or do you appreciate work that has gone in to such an item? Perhaps you don’t even think about it. So here I am going to put across the point of view of the crafter/artist themselves. If you knew the work involved, would this affect the amount you were prepared to spend?
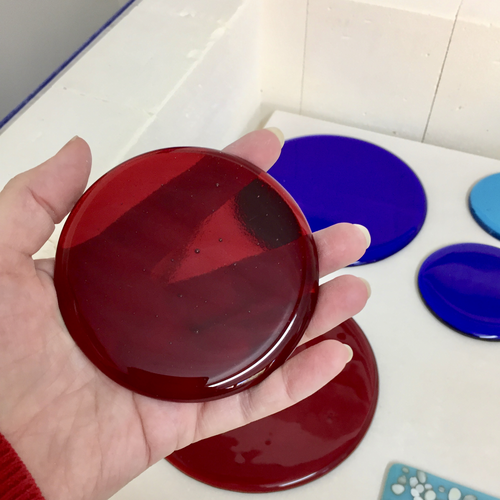
Take this little dish. It is a small piece at 8cm in diameter. You may think it’s pretty or you may hate it – but that’s fine – we all have different tastes. Nonetheless, even as a crafter, I accept that ultimately it is a tiny dish, it’s not made of valuable gem stones, or gold therefore there is a limit on what people will pay for it. Let me show you how this dish is made.
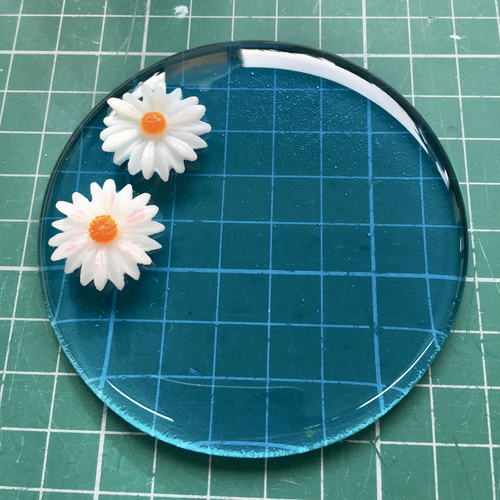
Firstly, I have to cut the circle out of the glass sheet. This isn’t always easy as there’s a definite technique to cutting circles. In addition, the very nature of circles means that there’s more waste when you make something round, than there is when you make something square. To make this dish, I need to cut two circles of glass per dish.
To make a kiln full, I have to cut many circles. After firing and cooling fully, a process which takes around 18 hours in this case, the fully-fused blanks are removed from the kiln.
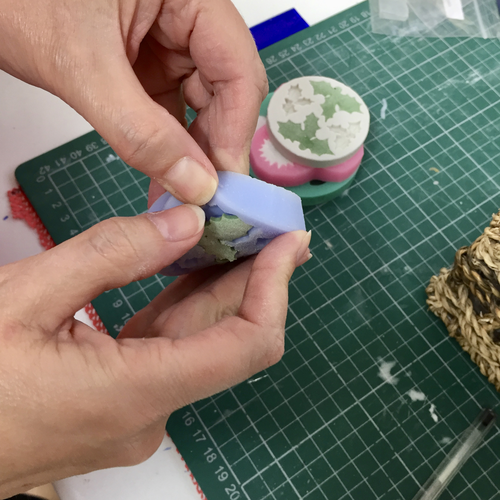
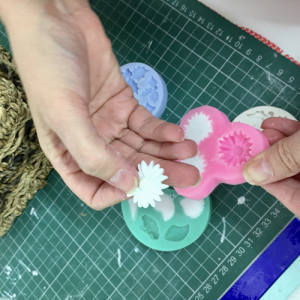
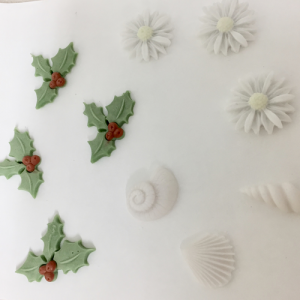
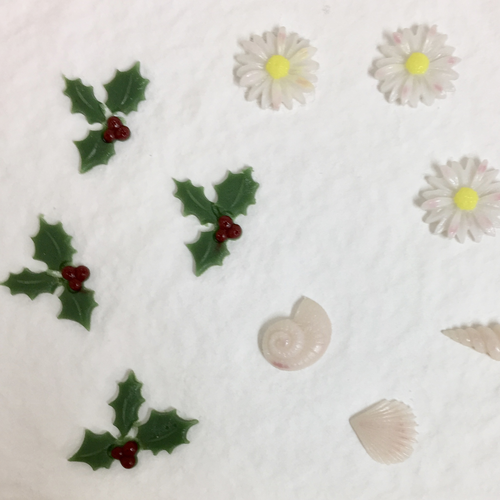
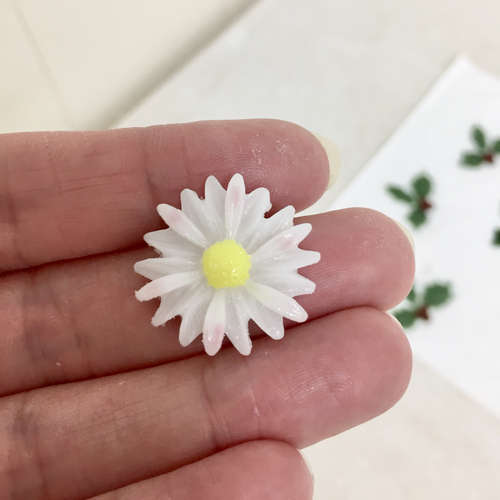
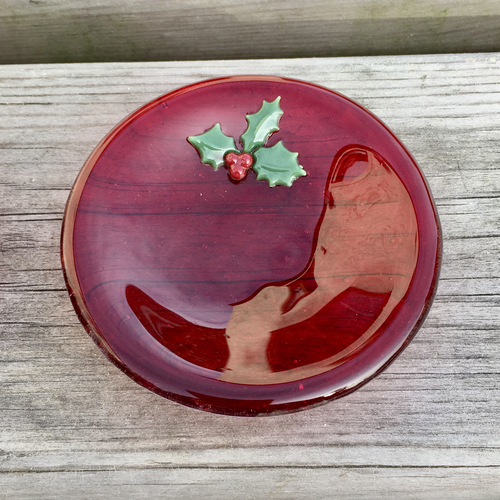
The next stage is to make the glass decorations, which on these dishes are a mixture of holly, sea shells, daisies and roses. These items are handmade, too. I use silicon moulds and a mixture of powdered glass and water. These photos give you some idea of the process. As to the time involved, to fill a mould with three daisies takes about 25-30 minutes. The powders are placed a small bit at a time into the mould, drops of water added and then the moulds are tapped after each application of water, to get rid of any tiny bubbles. This process carries on until the moulds are full.


When I have filled all the decorations I want, the next stage is to put them into the freezer. When fully frozen, they are then popped out of their moulds and put on to the kiln shelf for firing.

I have done this technique for several years now, but it still amazes me how a fragile decoration made of powder and frozen water doesn’t turn into a puddle of mush when fired in the kiln. Still, better people than me created this technique and I bow to their superiority!

Now we have the fused blanks and the fused glass decorations. The next stage is yet another firing: a tack fuse to secure the decorations to the dish, without losing its definition. For those counting, this is now kiln firing number 3.

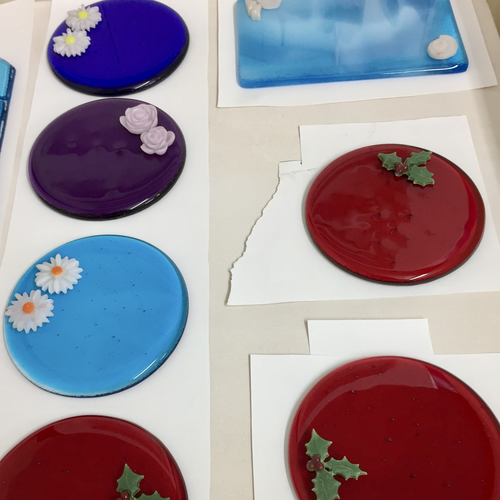
This firing goes to a lower temperature than the full fuse, but it is still nonetheless about the same amount of time taken, including cooling. We now have fully fused flat blanks, with their decoration. They just need their shape to finish. They are slumped in to their moulds in the kiln, (firing number 4) – this is the final firing.

To recap, the blanks have been cut and fired. The decorations have been made, frozen, then fired. The blanks and decorations have been tack fused together and finally, they are slumped to take their shape. The finished product looks like this:
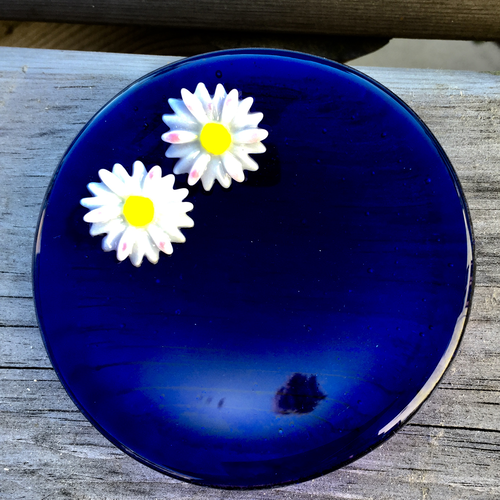

You now have some idea of the amount of work involved in these little dishes. And you get all that, for just £14.